How to Format a Book: A Beginner’s Guide
BOOK FORMATTING
Your manuscript may be beautifully written and carefully edited, but before it becomes a book, it needs to be turned into something readers can comfortably read. That’s where book formatting comes in.
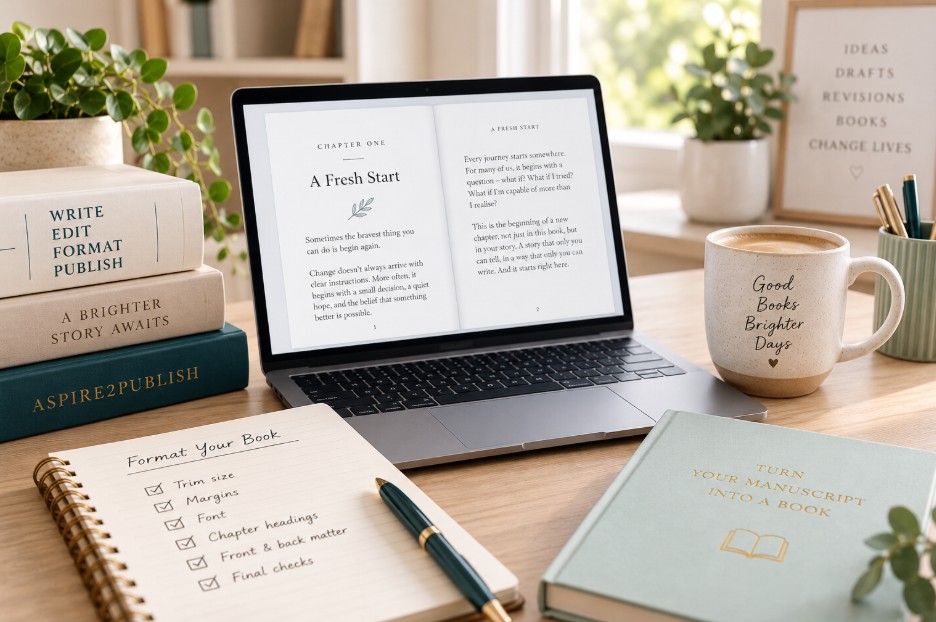
Learning how to format a book can initially seem surprisingly technical.
Suddenly you’re encountering trim sizes, margins, gutters, bleed, page breaks, headers, front matter and different file requirements for print books and eBooks.
But book formatting becomes much easier once you understand what each element is doing.
The goal isn’t to create an elaborate interior.
It’s to create a professional book that feels natural to read — so the formatting supports the words rather than distracting from them.
This beginner’s guide walks you through the key decisions involved in formatting your book for publication.
What Is Book Formatting?
Book formatting is the process of arranging your manuscript into the layout readers will see in the finished book.
It determines things such as:
- page size;
- margins;
- fonts;
- line and paragraph spacing;
- chapter headings;
- page numbers;
- headers and footers;
- front and back matter;
- images;
- page breaks; and
- the overall appearance of each page.
Formatting also prepares your manuscript for the format in which it will be published.
And that’s important because print books and eBooks don’t work in exactly the same way.
Book Formatting vs Book Design
Book formatting and book design are closely related, but they aren’t quite the same thing.
Book design is concerned with the overall visual experience of the book — typography, visual hierarchy, styling and how the interior supports the genre or subject.
Book formatting is the practical implementation of that design into a publication-ready file.
For a straightforward novel or nonfiction book, the distinction may not feel particularly significant.
For cookbooks, textbooks, workbooks, children’s books or highly illustrated nonfiction, interior design can become much more complex.
Either way, the objective remains the same:
Make the book attractive, consistent and easy to read.
How to Format a Book Step by Step
Step 1: Finish Editing Before You Format
Before worrying about fonts, margins or chapter headings, make sure the manuscript itself is ready.
Formatting too early creates unnecessary work.
If you later move chapters, rewrite sections or add several thousand words, you may need to redo parts of the layout.
Ideally, your manuscript should have completed its major editing stages before final formatting begins.
That includes:
✓ developmental revisions
✓ line or sentence-level editing
✓ copy editing
✓ major author revisions
If you’re not there yet, start with our How to Edit a Book: A Beginner’s Guide before moving on to formatting.
Step 2: Decide Which Formats You’re Publishing
Before learning how to format a book, you need to know what you’re formatting it for.
Your book might be published as:
- paperback;
- hardcover;
- Kindle eBook;
- another eBook format; or
- a combination of these.
You don’t necessarily need to release every format at once.
However, each version may require its own appropriately prepared file.
Print books
Print books have fixed physical pages.
You need to consider dimensions, margins, page numbers, headers, page breaks and how content appears on facing pages.
eBooks
Most standard eBooks use reflowable text.
That means readers can change settings such as font size, typeface and spacing on their device.
Instead of trying to control exactly where everything appears, your job is to create a clean structure that can adapt appropriately.
Understanding this difference will prevent a lot of frustration later.
Step 3: Choose Your Book’s Trim Size
For a print book, trim size is the final physical size of each page after printing and cutting.
You’ve probably noticed that novels, business books, workbooks and children’s books aren’t all the same dimensions.
Different book types tend to suit different trim sizes.
Your choice affects:
- the physical appearance of the book;
- the number of pages;
- spine width;
- printing costs;
- margins;
- readability; and
- ultimately, your cover dimensions.
Before choosing, look at successful books similar to yours.
What size do readers in that category expect?
Then check which trim sizes are supported by the publishing or printing platform you intend to use.
If you’re publishing through Amazon, Amazon KDP’s trim size guidelines provide current specifications for print books.
Step 4: Set Your Margins and Gutter
Margins are the blank spaces surrounding the text on each page.
A print book generally needs:
Top margin — space above the text.
Bottom margin — space beneath it.
Outside margin — space between the text and the outer edge of the page.
Inside margin — space toward the book’s binding.
The inside area requires particular attention because some of the page disappears visually into the binding.
This is where the gutter becomes important.
Books with more pages generally require greater allowance around the binding than very short books.
Don’t simply choose margins because they look good on your computer screen.
Follow the requirements of your printer or publishing platform and then consider how comfortable the resulting page will be to read.
Step 5: Choose Readable Fonts
Fonts have a surprisingly large influence on whether a book looks professional.
For the main body text, readability should come before novelty.
Serif typefaces are commonly used for long-form print reading, although the appropriate choice depends on the book and its design.
You may also use a different font for:
- chapter titles;
- section headings;
- subheadings;
- quotes; or
- special features.
But restraint usually produces better results than using numerous typefaces.
A useful rule for beginners is:
Choose a small font family and use it consistently.
You want readers to notice your writing — not wonder why every section looks different.
Step 6: Format Your Paragraphs Consistently
Consistency is one of the clearest signs of professional book formatting.
Decide how paragraphs will be treated and apply that approach throughout the manuscript.
For example, many traditionally styled books use first-line indents rather than blank spaces between every paragraph.
However, some nonfiction books use additional spacing to create a more open, accessible page.
Whichever approach suits your book, avoid formatting paragraphs manually using repeated spaces or tabs.
Use paragraph styles or formatting controls instead.
That makes the manuscript easier to maintain and reduces inconsistencies.
Step 7: Format Chapter Openings
Chapter openings give readers a visual signal that a new section of the book has begun.
You might use:
- a larger chapter number;
- a chapter title;
- additional white space;
- a decorative element;
- a different font;
- a small illustration; or
- a combination of these.
Your chapter design should match the overall tone of the book.
A thriller, memoir and business book don’t necessarily need the same treatment.
But consistency matters.
If Chapter One begins halfway down the page with a particular heading style, Chapter Seven shouldn’t suddenly use an entirely different layout unless there’s a deliberate reason.
Step 8: Add Page Breaks Properly
One of the easiest ways to create formatting problems is to repeatedly press Enter until the next chapter moves onto another page.
Don’t do this.
If something earlier in the manuscript changes, everything can move.
Instead, use proper page breaks or the relevant chapter/section controls in your formatting software.
This tells the software:
A new page begins here.
For print books, you may also need to control whether major sections begin on a right-hand page.
Using structural formatting rather than manual spacing makes later changes much easier.
Step 9: Add Headers and Page Numbers
Print books commonly use running headers and page numbers to help readers navigate.
Depending on the book, a header might contain:
- the author’s name;
- book title; or
- chapter title.
Not every page needs a header.
Chapter-opening pages and certain front-matter pages, for example, are often treated differently.
Page numbering can also become more complicated than simply putting “1” on the first page of your Word document.
Front matter may be unnumbered or use Roman numerals, while the main body uses standard Arabic numerals.
Again, consistency and reader expectations matter more than decorative complexity.
Step 10: Organize Your Front Matter
Front matter is the material appearing before the main text of the book.
Depending on your book, this might include:
- half-title page;
- title page;
- copyright page;
- dedication;
- epigraph;
- table of contents;
- foreword;
- preface; and
- introduction.
You don’t need all of these.
A first-time author can easily make a book feel overcomplicated by adding sections simply because other books have them.
Include what serves your book and your reader.
For many independently published books, a clean title page, copyright page and any genuinely useful introductory material may be sufficient.
Step 11: Don’t Forget Your Back Matter
The pages after the main manuscript are valuable too.
Back matter might include:
- acknowledgements;
- about the author;
- other books by the author;
- references;
- bibliography;
- glossary;
- index;
- discussion questions;
- resources;
- newsletter invitation; or
- a preview of another book.
Think strategically about what you’d like a reader to do when they finish.
If you have other books, resources or an email list, your back matter can help an interested reader continue their relationship with you.
Don’t overcrowd it, though.
Give readers a clear and useful next step.
Step 12: Handle Images Carefully
EIf your book contains photographs, illustrations, charts, diagrams or other graphics, you’ll need to pay additional attention to image quality and placement.
Consider:
- resolution;
- dimensions;
- colour or black-and-white printing;
- captions;
- alignment;
- image permissions;
- whether the image reaches the edge of the page; and
- how the image behaves in different formats.
An image that extends to the edge of a printed page usually requires bleed.
Bleed allows artwork to extend beyond the final trim line so there isn’t an unintended white edge after the page is cut.
This is another area where your printer’s specifications matter.
Step 13: Format the eBook Separately
One of the biggest mistakes beginners can make is assuming their print layout should simply be converted directly into an eBook.
The two formats behave differently.
For a typical reflowable eBook, avoid relying heavily on:
- fixed page numbers;
- headers and footers;
- manual line breaks;
- tabs;
- elaborate spacing;
- fixed font sizes; and
- design elements dependent on exact page positioning.
Readers may view the book on phones, tablets, eReaders and screens of different sizes.
They may also enlarge the text.
Your formatting needs to adapt.
For Kindle publishing, Amazon KDP’s eBook manuscript formatting guidance is worth checking before preparing your final file.
Step 14: Choose Your Formatting Software
There isn’t one piece of software every author has to use.
Depending on your needs and budget, books can be prepared using dedicated book-formatting software or more general document and design applications.
The best choice depends partly on the complexity of your book.
A straightforward novel has very different formatting requirements from an illustrated cookbook or workbook.
Before choosing a tool, consider:
What formats does it export?
Can it produce both print and eBook files?
How much control do you need over the design?
How easy will future revisions be?
Does your publishing platform accept the files it produces?
Don’t choose software simply because it offers the largest number of design features.
Choose something capable of producing the book you actually need.
Step 15: Export the Correct Files
Once your book looks right, you need to create the files your publishing platform requires.
For print, this commonly means producing a print-ready PDF that preserves the dimensions and layout you’ve created.
For an eBook, you’ll need a compatible digital book file with a structure that works properly on reading devices.
Before exporting, check your publishing platform’s current file requirements.
Specifications can change, and fixing problems before uploading is considerably easier than troubleshooting rejected files later.
Step 16: Preview Your Book Before Publishing
Never assume that because the source file looks correct, the published version will too.
Use your publishing platform’s previewing tools.
Check every page.
Look for:
- unexpected blank pages;
- incorrect page breaks;
- cut-off text;
- inconsistent fonts;
- strange spacing;
- misplaced images;
- headers where they shouldn’t appear;
- incorrect page numbers;
- awkward chapter openings; and
- problems with the table of contents.
For eBooks, preview the book at different screen sizes and font settings where possible.
You’re trying to experience the book more like a reader would.
Step 17: Order a Physical Proof
If you’re publishing a print edition, reviewing an actual physical copy is one of the most valuable checks you can make.
A book can look very different in your hands than it does on a screen.
Look at:
Font size: Is it comfortable to read?
Margins: Does the text feel cramped?
Gutter: Is anything disappearing toward the binding?
Images: Are they clear?
Headings: Do they look balanced?
Blank pages: Are they intentional?
Overall appearance: Does the book feel professionally produced?
Read through the proof rather than simply admiring the cover.
This is your opportunity to catch problems before readers do.
Common Book Formatting Mistakes
When you’re learning how to format a book, watch particularly for these beginner mistakes:
- using spaces or tabs to position text;
- pressing Enter repeatedly to create new pages;
- using too many fonts;
- inconsistent chapter headings;
- margins that are too narrow;
- forgetting the gutter;
- low-resolution images;
- excessive decorative elements;
- treating the eBook exactly like the print edition;
- inconsistent paragraph indents or spacing;
- incorrect page numbering;
- failing to check the platform’s specifications; and
- uploading without thoroughly previewing the finished file.
Most of these aren’t difficult to fix.
They’re much easier to avoid when you know to look for them.
Your Book Formatting Checklist
Before uploading your files, check that you can confidently tick off:
✓ Manuscript editing is complete
✓ Publishing formats selected
✓ Print trim size chosen
✓ Margins and gutter checked
✓ Body font is readable
✓ Font usage is consistent
✓ Paragraph styles are consistent
✓ Chapter openings are formatted consistently
✓ Proper page and section breaks are used
✓ Headers and page numbers are correct
✓ Front matter is complete
✓ Back matter is complete
✓ Images are suitable for publication
✓ Bleed is correctly set where required
✓ Print and eBook versions are formatted appropriately
✓ Files meet your publishing platform’s requirements
✓ Digital previews have been checked
✓ Physical proof has been reviewed for print editions
✓ Final formatting errors have been corrected
Once those are complete, your manuscript is much closer to becoming a professional finished book.
Good Book Formatting Should Almost Disappear
Beautiful formatting doesn’t need to draw attention to itself.
In fact, some of the best book formatting is barely noticed.
The reader opens the book and starts reading.
They don’t struggle with cramped margins, tiny text, inconsistent headings or distracting fonts.
Everything simply works.
That’s the standard to aim for.
When learning how to format a book, start with readability and consistency. Follow the specifications of your publishing platform, keep your design appropriate for your genre and check the finished product carefully.
Your manuscript contains the words you want readers to experience.
Formatting creates the environment in which they’ll experience them.
Ready to Format Your Manuscript?
Once your editing is complete, good formatting turns your manuscript into a professional book that’s comfortable for readers to navigate and enjoy.
Explore more Book Formatting resources from Aspire2Publish for practical guidance on print formatting, Kindle formatting, trim sizes, margins, front and back matter and preparing publication-ready files.
Explore Book Formatting Resources →
Continue Your Author Journey
Once your book is taking shape, explore more Aspire2Publish guides and resources:
Book Editing
Make sure your manuscript is polished before you finalize its layout.
Book Design
Explore cover design, typography, book dimensions and creating a professional visual identity for your book.
Book Publishing
When your files are ready, learn how to move from completed manuscript to published author.